Last updated on June 22nd, 2024
Are you ready to try making pasta at home but don’t have a pasta maker? Fret not! Italy is historically a very poor country and I can assure you the ancient nonne throughout the centuries were only using a rolling pin, knife and their hands to make this homemade orecchiette pasta.
Making pasta has always been a fun family activity for us but it wasn’t until a couple of years ago that I fell in love with the tradition of simple semola pasta made with just flour and water. No eggs!
In this article, I will share with you my Italian family’s recipe for orecchiette pasta including how to shape them at home without any additional equipment, and how to cook and eat them.
Whether you are looking for a rainy day activity with your kids, hoping to host an Italian dinner party or simply expand upon your Italian culinary abilities, this orecchiette pasta will satisfy your needs!
Jump to Section
What Is Orecchiette Pasta?
Orecchiette (pronounced ohr-ehk-kee-eht-tee in Italian is a small round pasta from Puglia made by hand from semolina flour and water.
Orecchiette is historically a very “poor” pasta, referring to the tradition of making it from just two ingredients: locally milled semolina flour and water.
For centuries Italian homemade orecchiette pasta was paired with sauces that could be made from local and resistant crops such as broccoli and turnip greens.
Learn More: You can also hear how orecchiette is commonly mispronounced in Orecchiette Pronunciation.
Homemade Orecchiette Pasta Ingredients
Flour
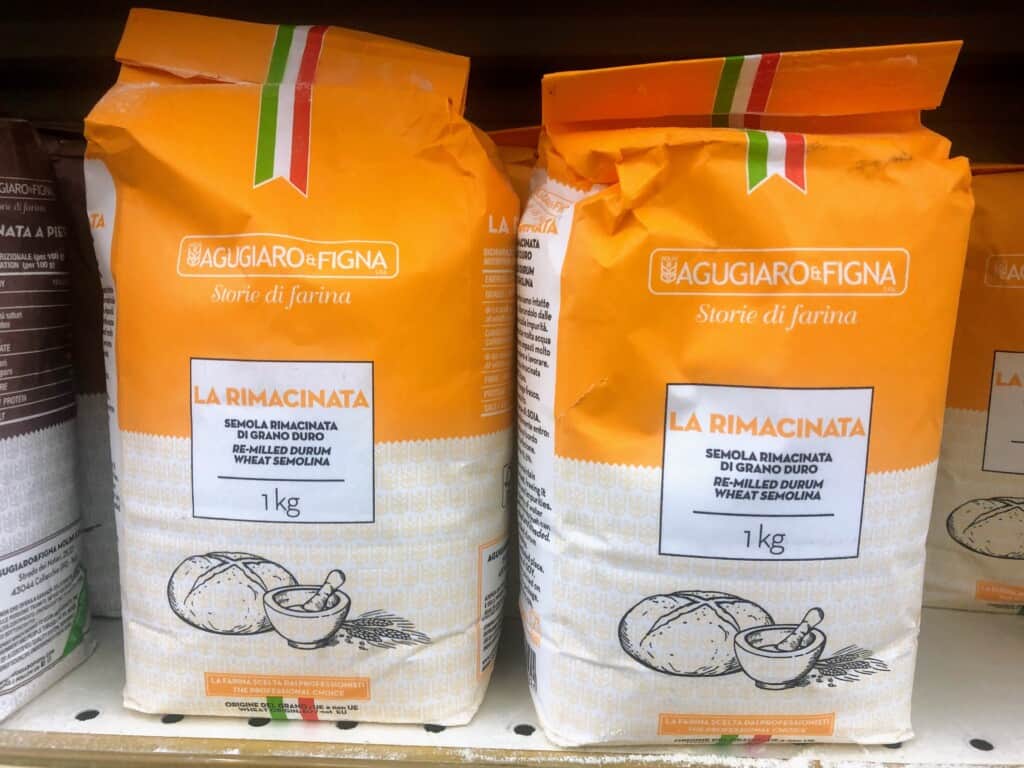
For authentic orecchiette pasta, you will need 400 grams of fine durum wheat flour, commonly known as semolina flour in the USA.
This type of flour is available for purchase at specialty supermarkets and also online here.
Water
Making pasta is easy but takes practice to get the exact dough consistency. In this recipe you need around 200 ml lukewarm water but this amount will change depending on the brand of flour and weather conditions.
Salt
Add a pinch of salt to the flour when mixing the orecchiette pasta dough.
How To Make Homemade Orecchiette Pasta
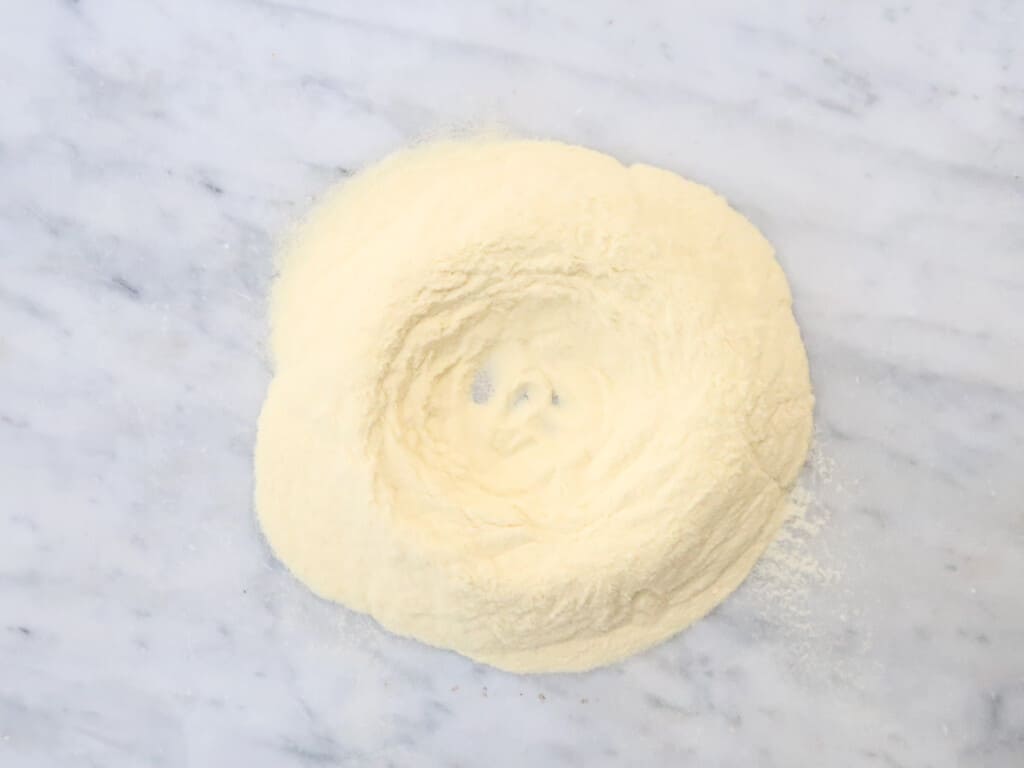
Pour out the flour onto a flat surface such as a marble or granite countertop or a wooden board. Using your hands, make a well in the center.
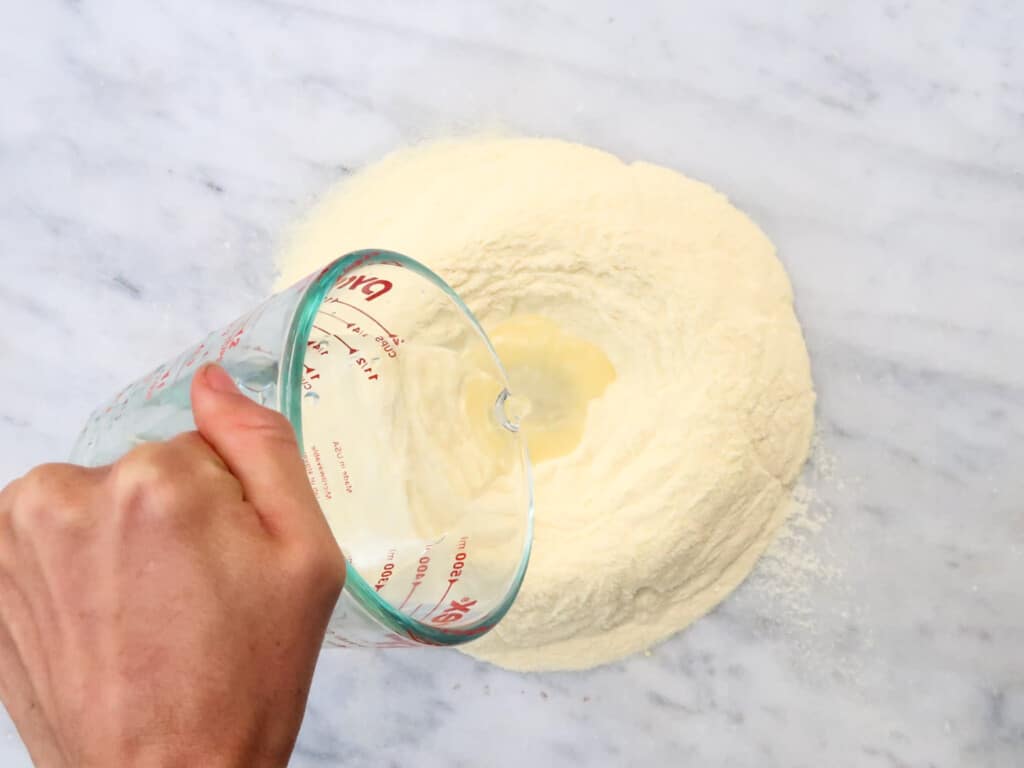
Add the lukewarm water a bit at a time with the salt, working in the flour from the sides of the well with a fork.
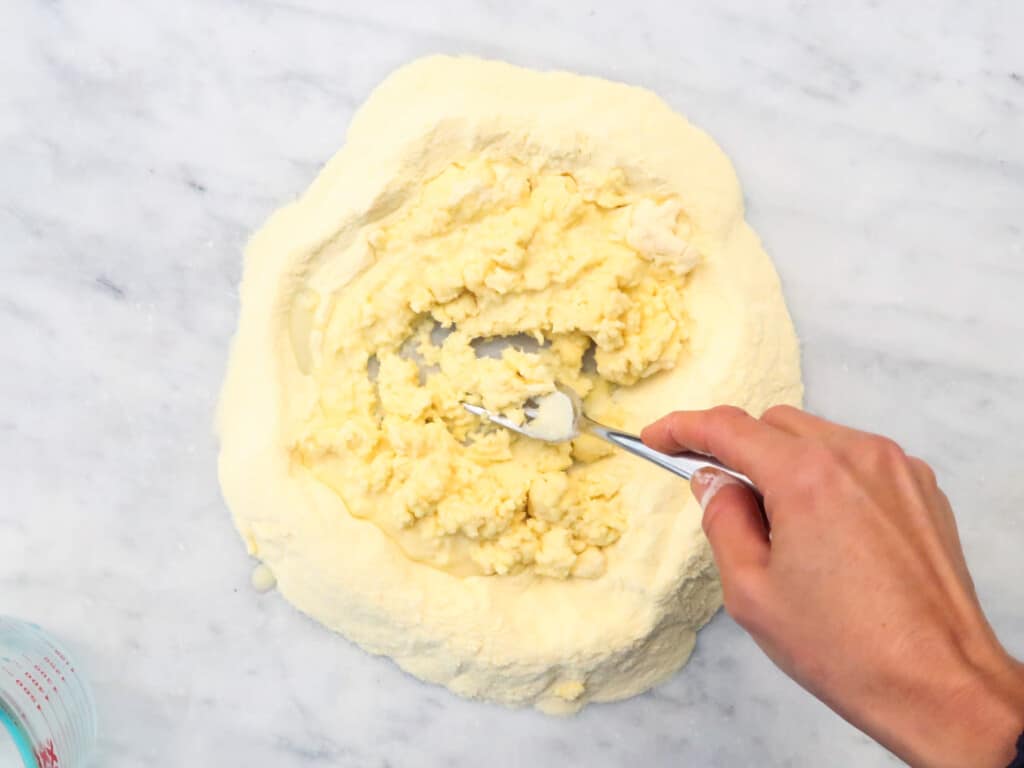
Keep adding the water in this manner until all the flour has been incorporated and the dough comes together into a shaggy mess. If it doesn’t come together, add a bit more water, just a teaspoon at a time, until all the flour has been incorporated.
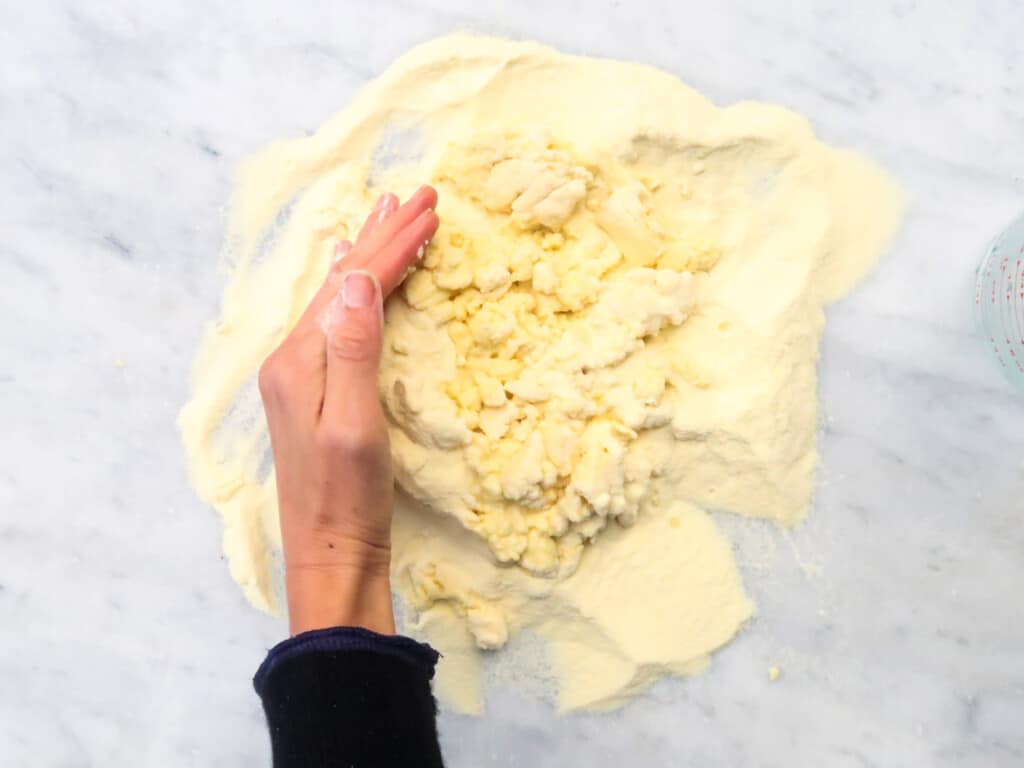
Knead until the dough is smooth and elastic, about 10 minutes. Cover with a clean dish towel or plastic wrap and let rest for ideally 30 minutes but a minimum of 15.
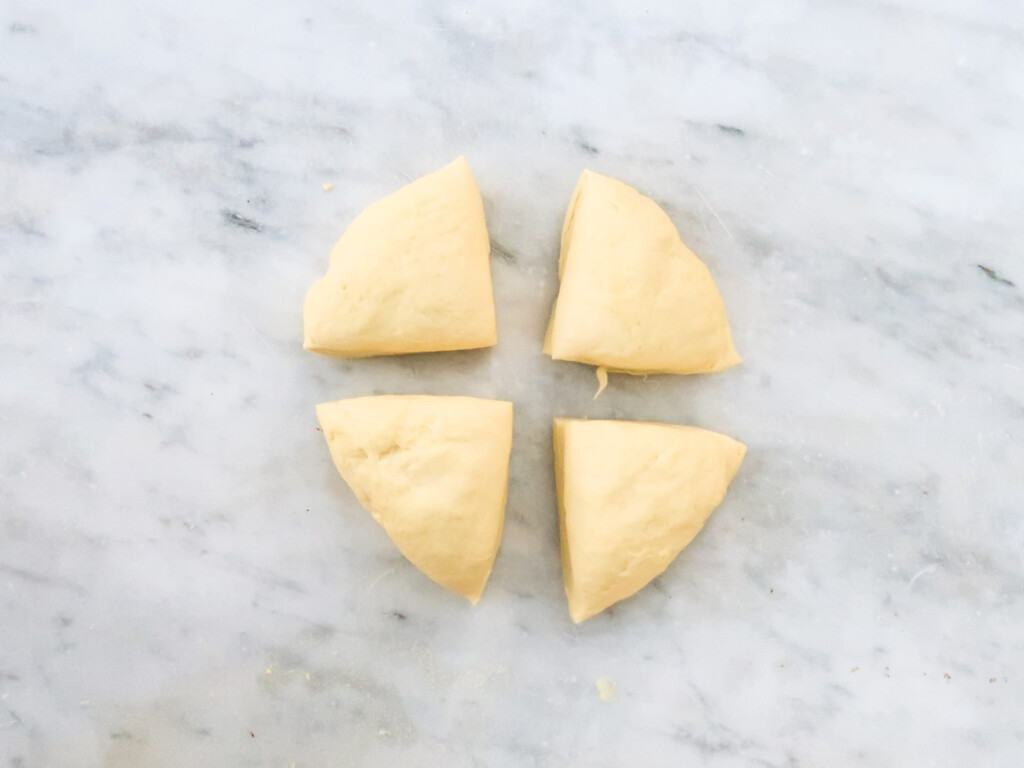
Cut the dough into 4 equal pieces. Take one piece and cover the rest.
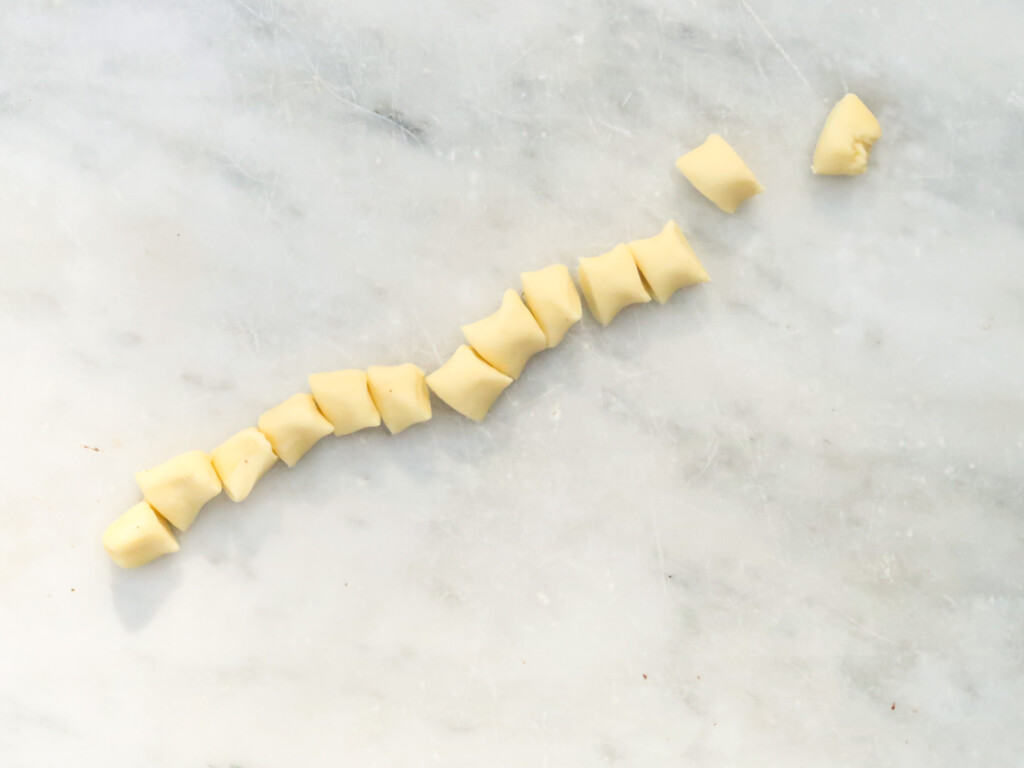
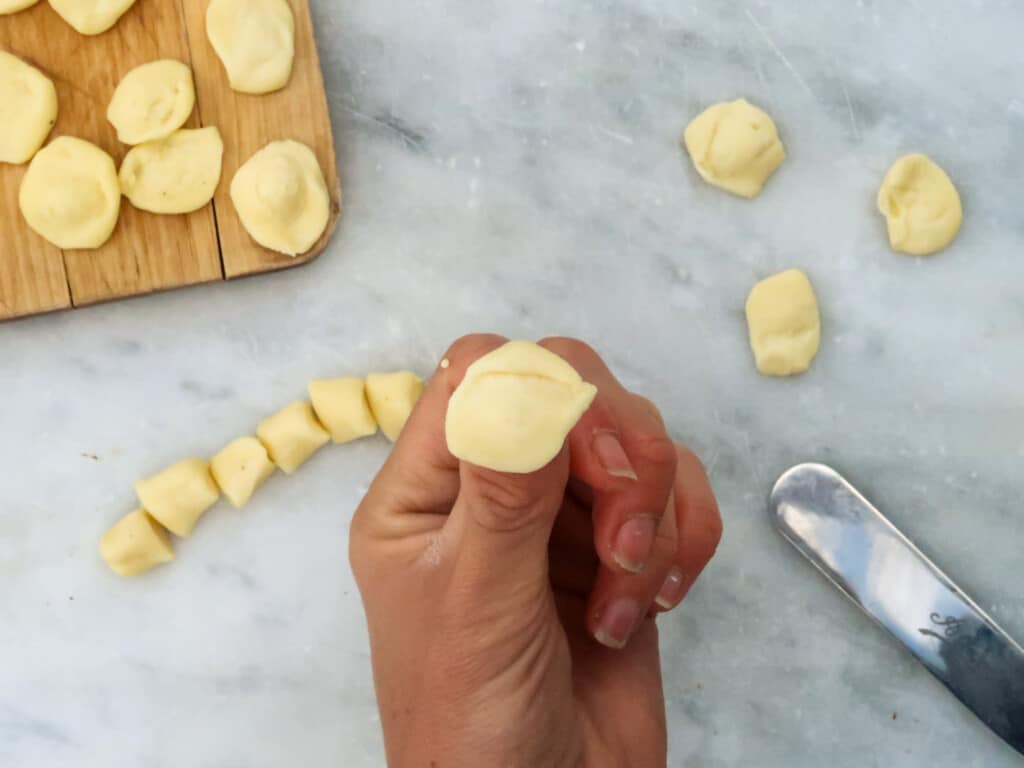
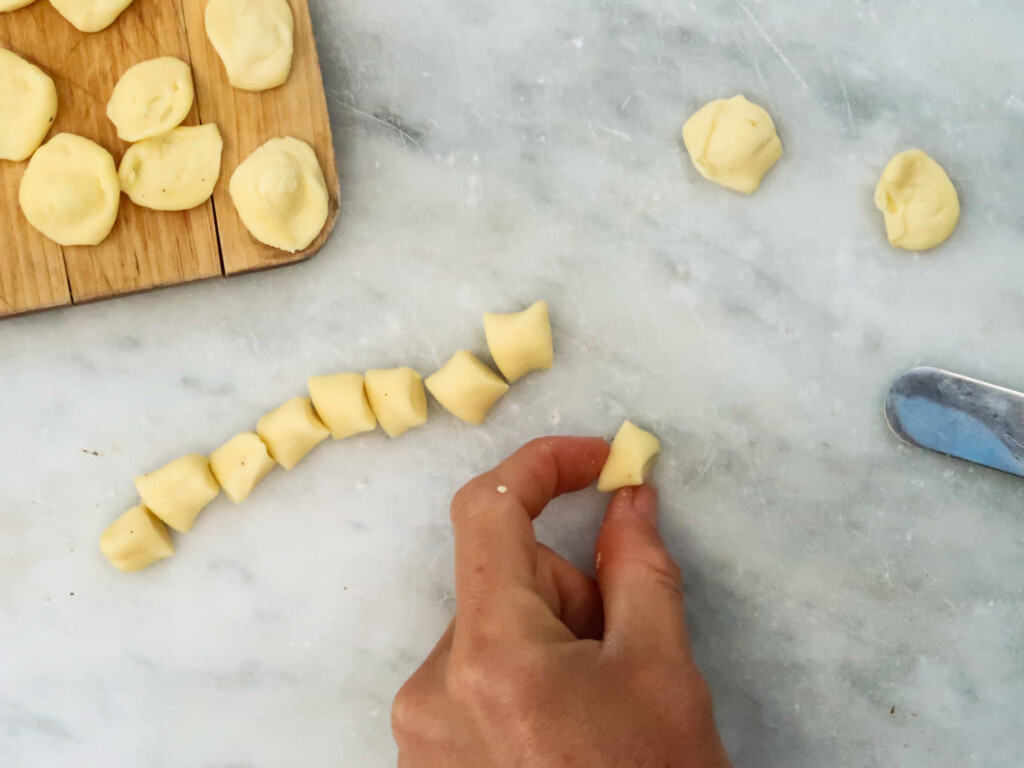
Roll the dough into a long snake, about 1cm thick. If it gets too long, just cut it in half and work with a shorter piece.
Cut small pieces of the dough about 1 cm in length, giving you small squares of dough.
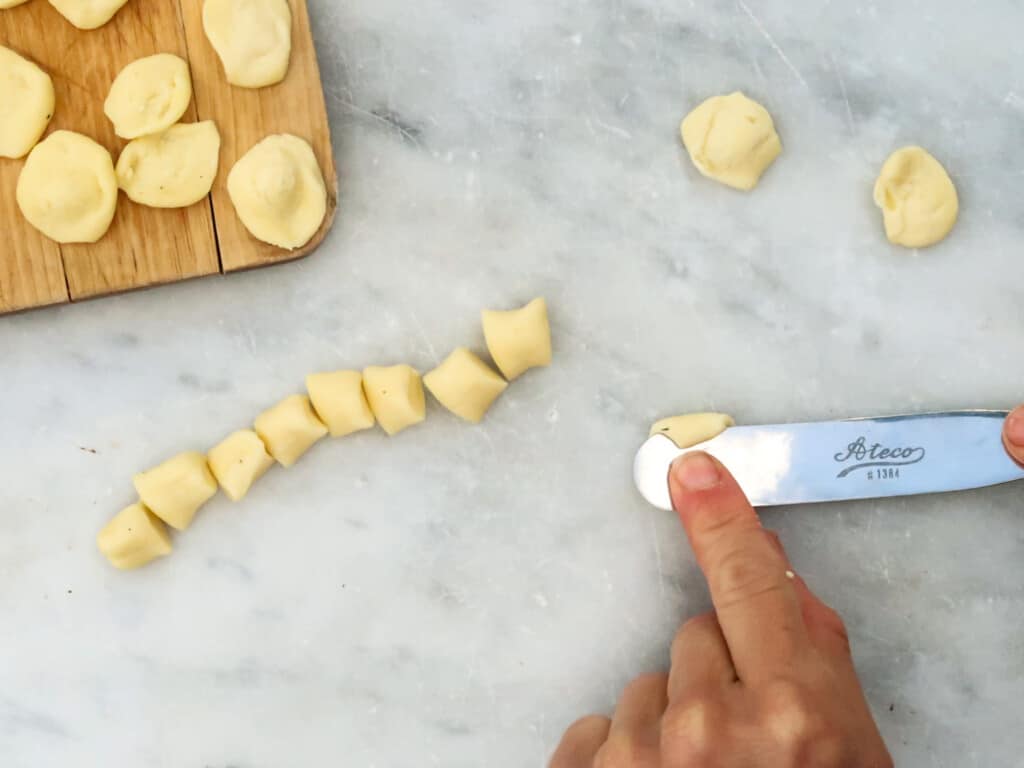
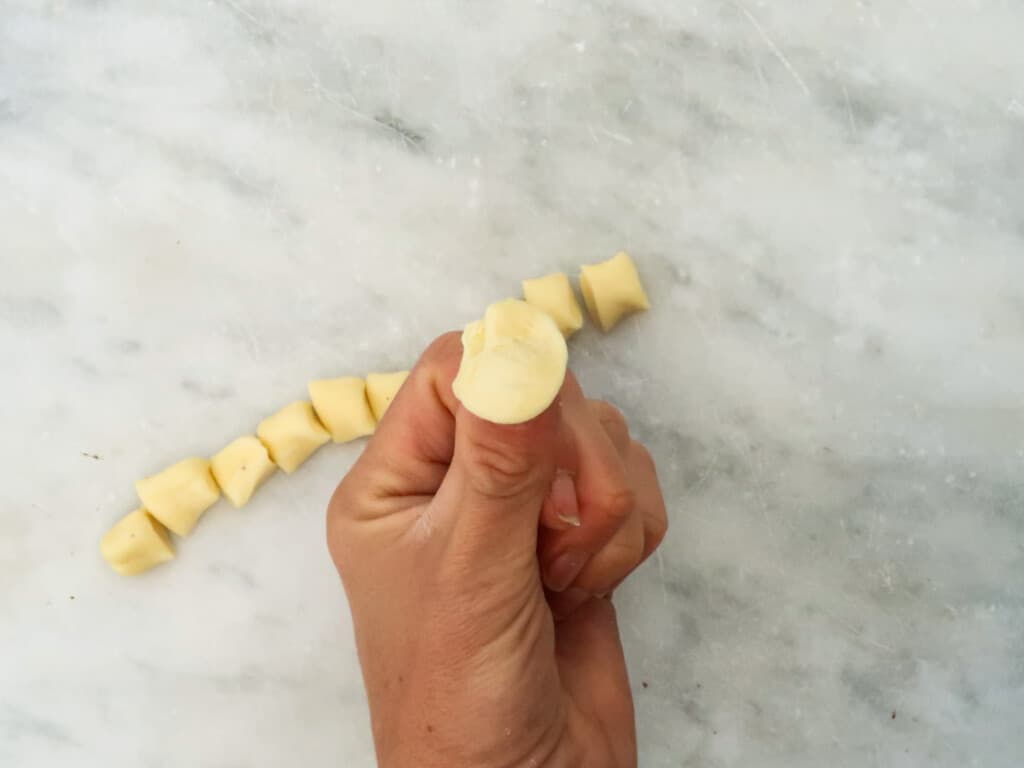
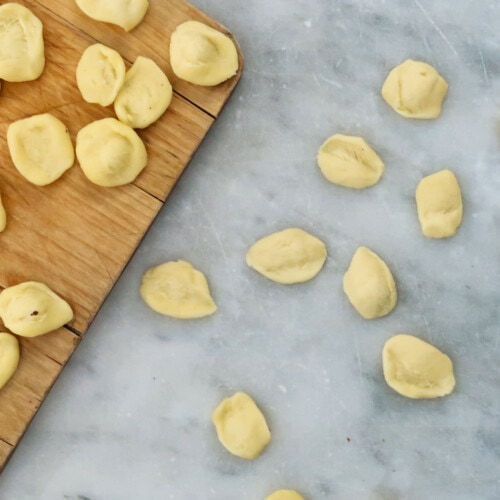
With a rounded tip butter knife, press down on a corner of one piece of dough, moving the knife towards you in a diagonal fashion on a lightly floured surface. Pick it up and invert it to flip the just formed orecchiette inside out (I like to flip it inside out on my thumb but you will have to play a bit and see what works best for you).
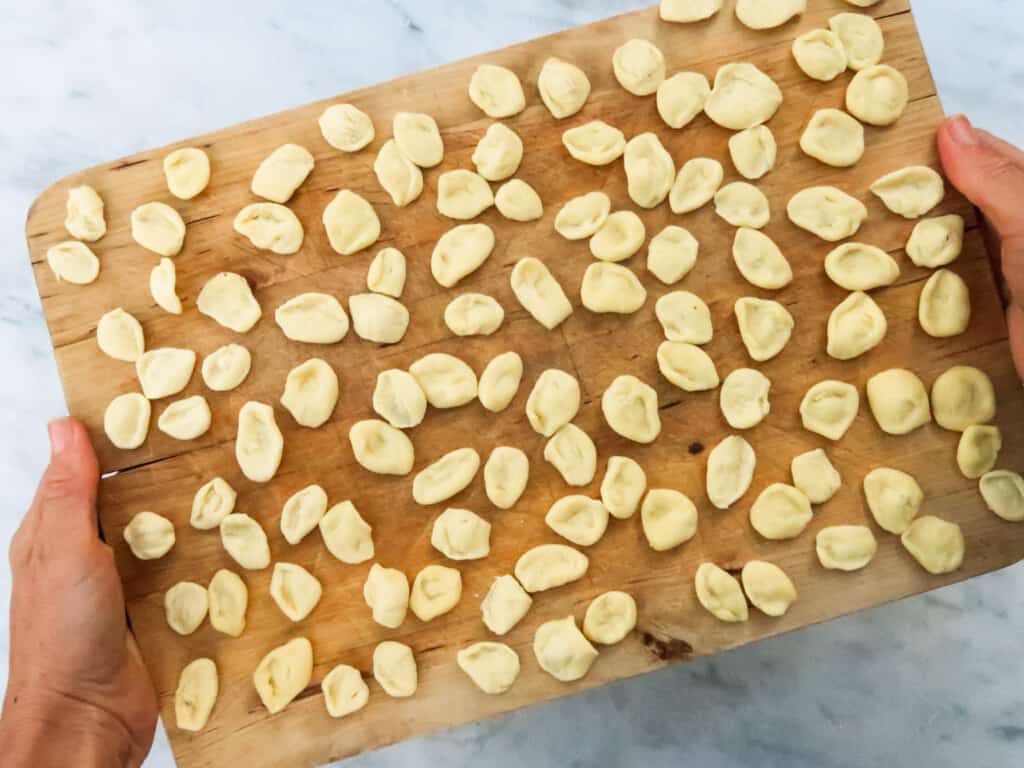
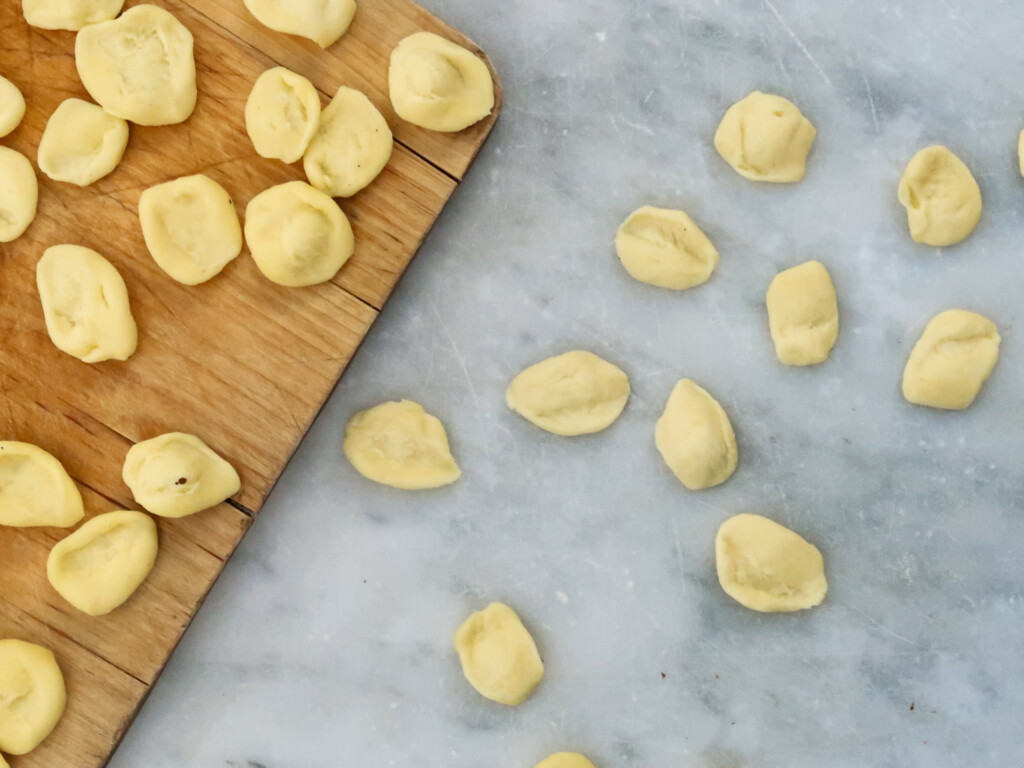
Place the finished orecchiette on clean, dry tea towels to dry out. You can either let them sit out and partially dry for a couple of hours or sit out overnight.
To cook the orecchiette, bring a large pot of salted water up to a boil and add the orecchiette pasta. If the orecchiette have been completely dried, they may take up to 10 minutes. For pasta that has only been partially dried, check it after only five minutes.
Drain and dress immediately with your favorite pasta sauce.
How To Serve Homemade Orecchiette Pasta
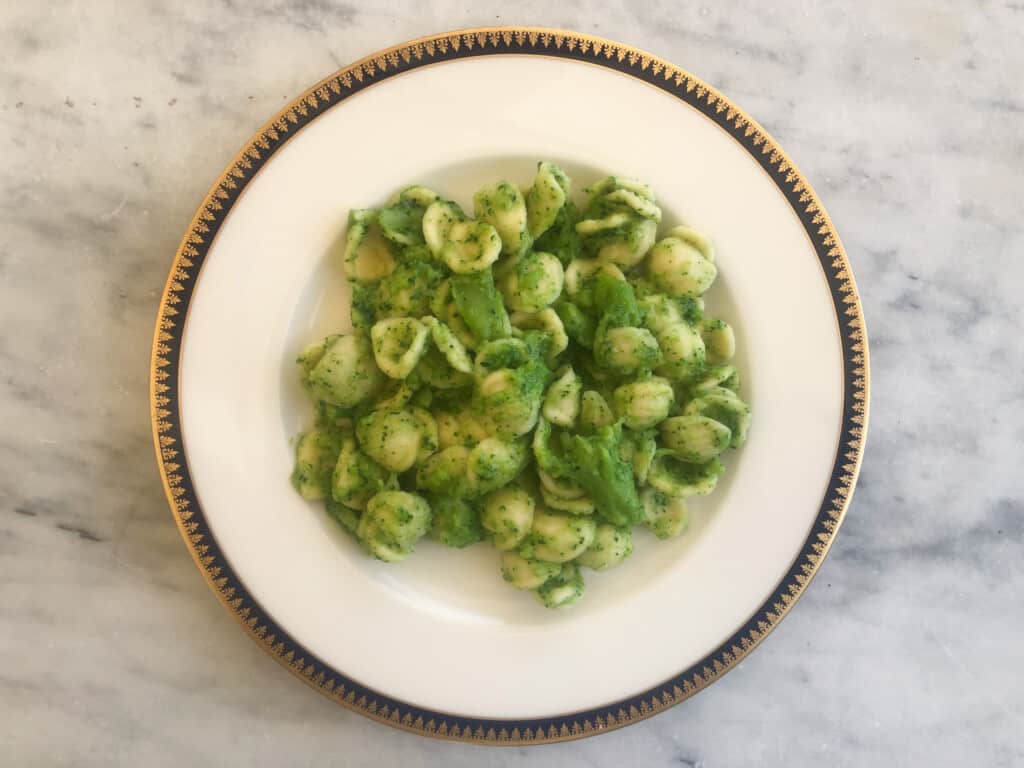
Homemade orecchiette is a great pasta shape to serve with really any sauce because the little indentation of the shape holds all types of Italian pasta sauces, even non-traditional sauces like meat ragù or Bolognese sauce.
Here are the most traditional pasta sauces served with homemade orecchiette pasta:
- Orecchiette con le cime di rapa (with turnip greens)
- Orecchiette con broccoli (with broccoli)
- Orecchiette con broccoli e salsiccia (with broccoli and sausage)
- Orecchiette con carciofi (with artichokes)
- Orecchiette con le zucchine (with zucchini)
More Veg Please: Check out my list of Vegetarian Dishes to Try in Italy.
How To Store Homemade Orecchiette Pasta
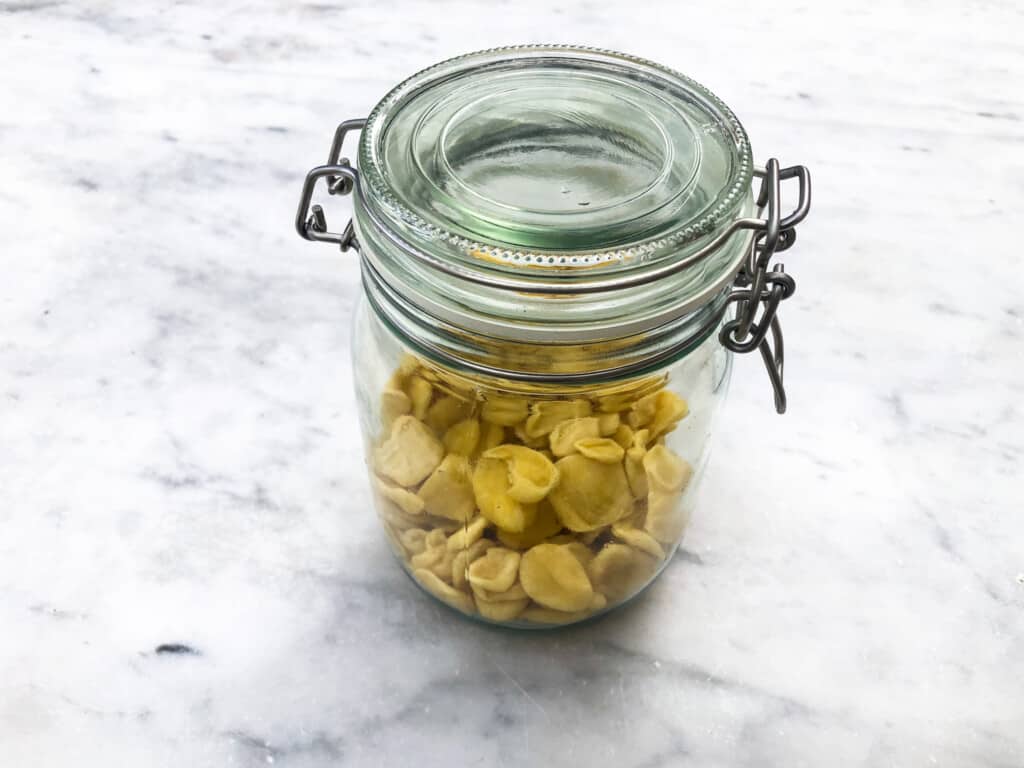
After fully drying the orecchiette pasta on a dry dish towel, transfer the homemade pasta to an airtight container and keep for about three weeks.
You can also freeze homemade orecchiette pasta after they have dried completely. Transfer the dried pasta to a freezer bag and keep for up to three months in the freezer. You can cook the frozen orecchiette pasta directly from the freezer. Just add a couple of minutes to the cooking time.
Notes and Tips For Making Homemade Orecchiette Pasta
Shaping the little ears of orecchiette can be a bit tricky at the beginning. You will see that as you practice, your “ears” will get much more defined and the process will go much quicker.
Don’t be afraid to add more flour if the dough is sticking to your surface.
I find a marble board works best for shaping the orecchiette pasta but use any flat cooking surface you have such as a wooden cutting board.
You might need to add a bit more water to the dough should it be dry and not come together completely with the 200 ml. Temperature and flour brands can affect this.
You can make orecchiette pasta dough in a stand mixer such as a KitchenAid.
Do you enjoy making and eating Italian pasta? If so, check out these recipes:
Orecchiette Pasta Recipe
Pici Pasta Recipe – How To Make Tuscany’s Hand Rolled Spaghetti
Tagliatelle Recipe + How to Pronounce It
Cacio e Pepe Recipe – Pronounce it and Make it Like an Italian (+ Audio)
Fresh Pomodoro Sauce Recipe – An Italian Summer Tradition
Pomodoro Sauce Recipe – Made With Canned Tomatoes
Creamy Kale Pasta Recipe
Italian Kale Pesto Recipe
Aglione Sauce Recipe
Arrabbiata Sauce Recipe
Pappardelle alla Boscaiola Recipe
Orecchiette Recipe
Ingredients
- 400 g fine durum wheat flour (semolina flour)
- 200 ml lukewarm water
- pinch salt
Instructions
- Pour out the flour onto a flat surface such as a marble or granite countertop or a wooden board. Using your hands, make a well in the center.
- Add the lukewarm water a bit at a time with the salt, working in the flour from the sides of the well with a fork. Keep adding the water in this manner until all the flour has been incorporated and the dough comes together into a shaggy mess. If it doesn’t come together, add a bit more water, just a teaspoon at a time, until all the flour has been incorporated.
- Knead until the dough is smooth and elastic, about 10 minutes. Cover with a clean dish towel or plastic wrap and let rest for ideally 30 minutes but a minimum of 15.
- Cut the dough into 4 equal pieces. Take one piece and cover the rest.
- Roll the dough into a long snake, about 1cm thick. If it gets too long, just cut it in half and work with a shorter piece.
- Cut small pieces of the dough about 1 cm in length, giving you small squares of dough.
- With a rounded tip butter knife, press down on a corner of one piece of dough, moving the knife towards you in a diagonal fashion on a lightly floured surface. Pick it up and invert it to flip the just formed orecchiette inside out (I like to flip it inside out on my thumb but you will have to play a bit and see what works best for you).
- Place the finished orecchiette on clean, dry tea towels to dry out. You can either let them sit out and partially dry for a couple of hours or sit out overnight.
- To cook the orecchiette, bring a large pot of salted water up to a boil and add the orecchiette pasta. If the orecchiette have been completely dried, they may take up to 10 minutes. For pasta that has only been partially dried, check it after only five minutes.
- Drain and dress immediately with your favorite pasta sauce.